Make your rustic wedding sign extraordinary with a little help and guidance.
Brushed-back, acrylic wedding signs are trendy right now. They are easy to create, inexpensive and perfectly accent one of our favorite wedding themes: Rustic!
In a few quick steps, you can create one of these gorgeous signs for your rustic wedding can coolers’ display. Our popular foam can coolers and Koozies®) are available in dozens of vintage colors and designs to fit your country/rustic theme.
How to make your own wedding favor sign
You can buy stencils at a craft store or make them with a home computer or Cricut to trace a message on your sign. Do you have great handwriting or calligraphy skills? Freehand it! Our multi-talented Shayla did just that as you’ll see in the images below.
Let’s get started:
Materials for your DIY acrylic sign
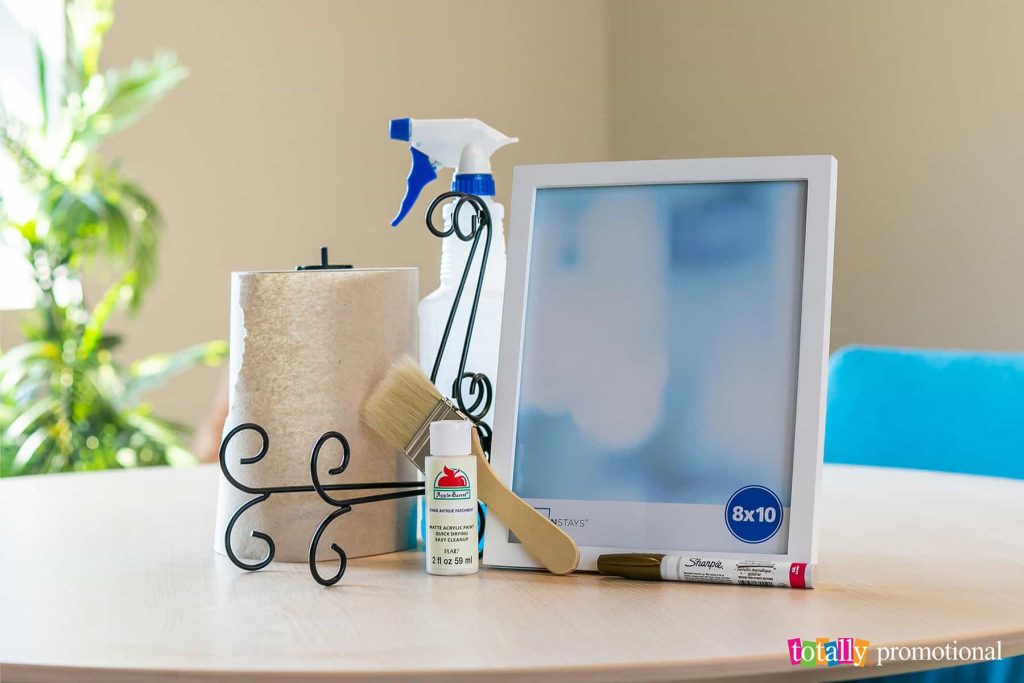
- Clear acrylic sheet: Available in many sizes, shapes and thicknesses. I recommend 3mm or thicker for a sturdier sign. Glass photo frames can be used instead of acrylic sheets.
- Sharpie oil-based paint pens
- Stencils/tape (optional)
- High-quality acrylic paint: Can be brushed or sponged onto the backside of your sign for a dreamy appearance behind your text.
- Acrylic paintbrush
- Frame/easel (optional)
Instructions to make your wedding sign
Step 1
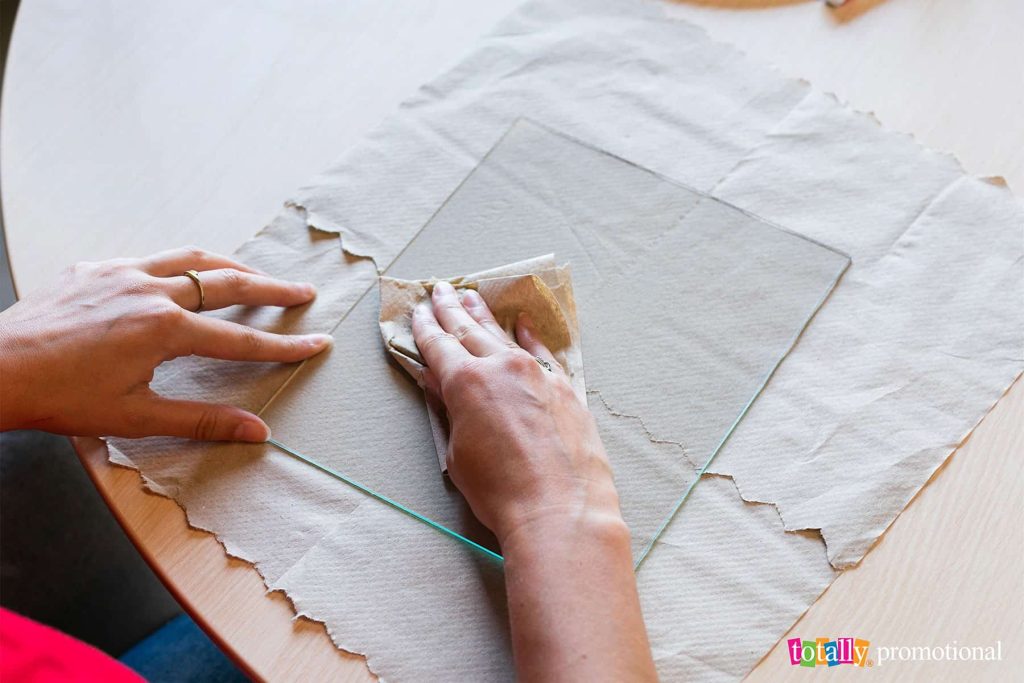
Prep the acrylic sheet by cleaning and removing smudges. Use window cleaning liquid and a paper towel or soft, non-abrasive cloth.
Step 2
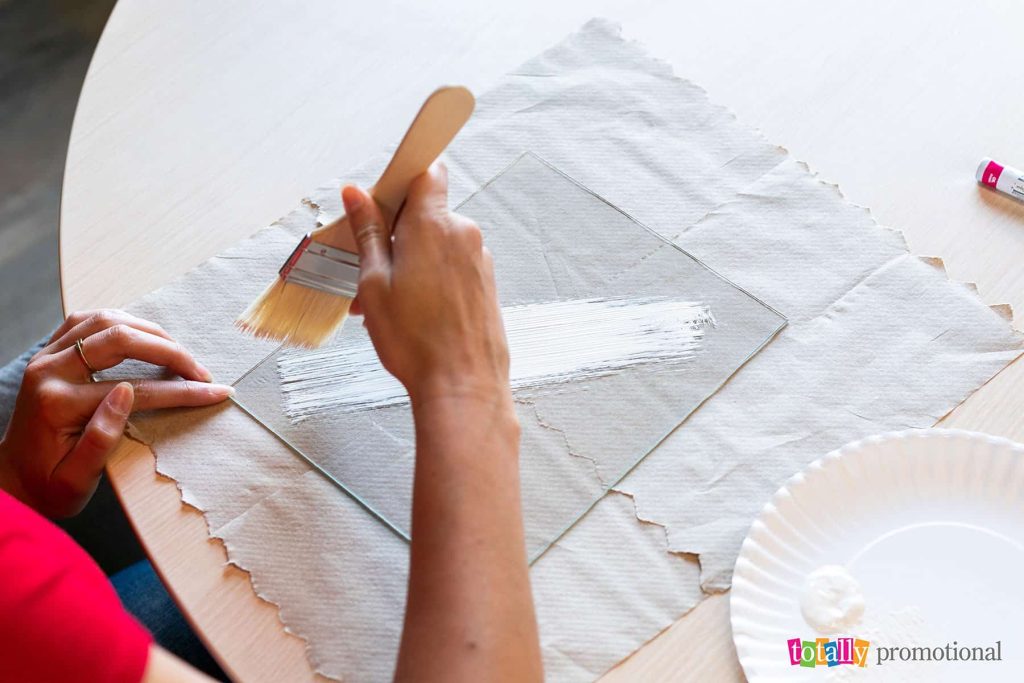
Apply paint to the backside of the wedding sign as close to the edges as you prefer.
Quick tips before getting started:
- Each time you dip your brush into the paint, dab it to ensure a manageable, thin coat.
- Hold your paintbrush sideways and paint with the narrow edge of bristles for less visible brush strokes.
- Paintbrush size depends on the size of your sign and the effect you are seeking. We used a 2-inch-wide paintbrush for the 8×10-inch sign pictured in this blog.
Start near the bottom left-hand corner and swipe up diagonally toward the top, right-hand corner with a fast but careful brushstroke. Cover the remaining area to be painted by swiping upward, picking up the brush and swiping back down. Build up the layer of paint until it is even and opaque.
Step 3
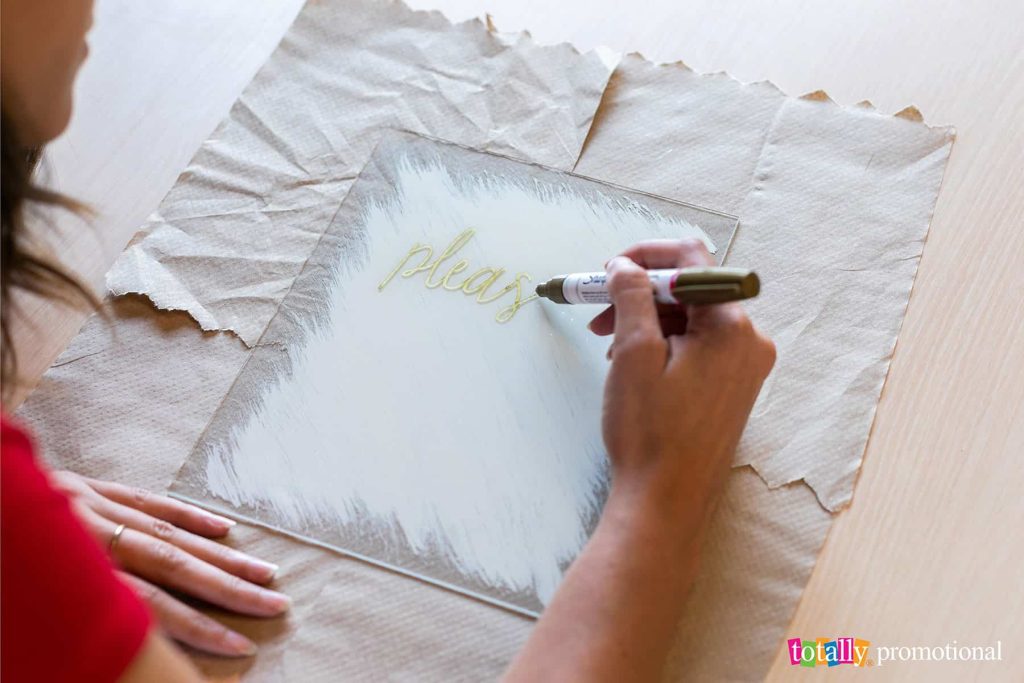
Using stencils: Put stencils in place with a minimal amount of tape. Be sure the words are properly spaced and exactly where you want them. Use a paint pen(s) to trace the letters onto the front of the sign. If the letters are thick, outline each and fill them in when finished tracing.
Freehand tip: Use small pieces of tape on the top, bottom and sides of the acrylic sheet to set margins before you begin. This will ensure a more balanced placement.
Simple text for your wedding sign: “Please take one” or “From us to you.”
Add the finishing touch to your project
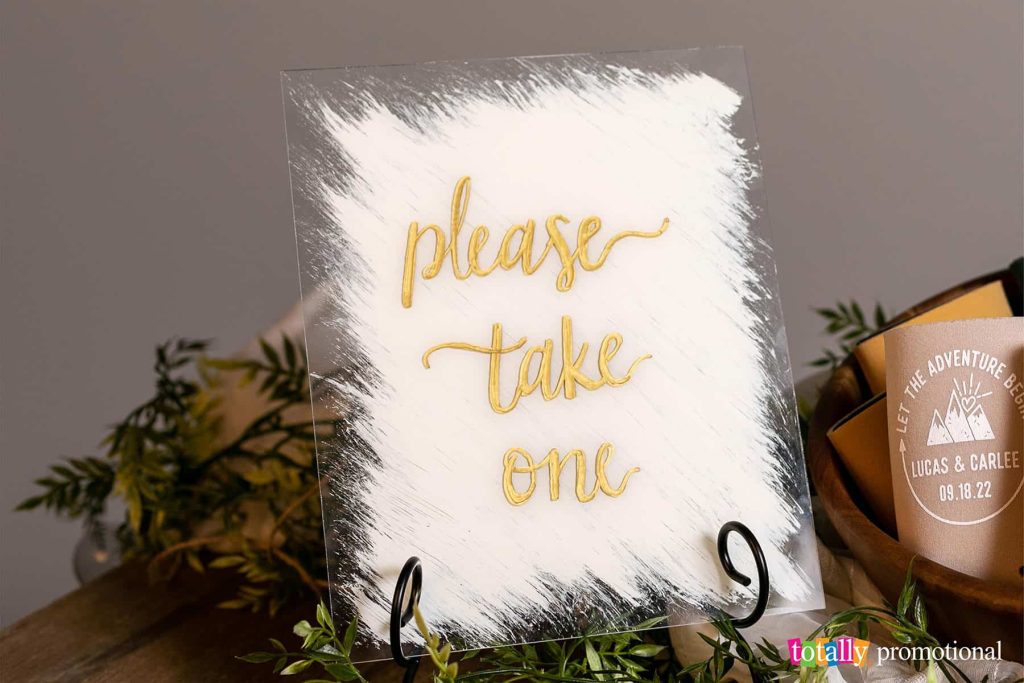
When your DIY sign is dry, place it in a frame and embellish it with greenery or other accessories! Keep your wedding colors in mind when adding décor. The colors we highly recommend for a rustic theme are burnt orange, crimson, frost, lilac gray and camel.
Brush-backed acrylic wedding signs look spectacular on easels or tabletop stands, with or without a frame, or simply propped up on your wedding favor table.
How to display your rustic koozies
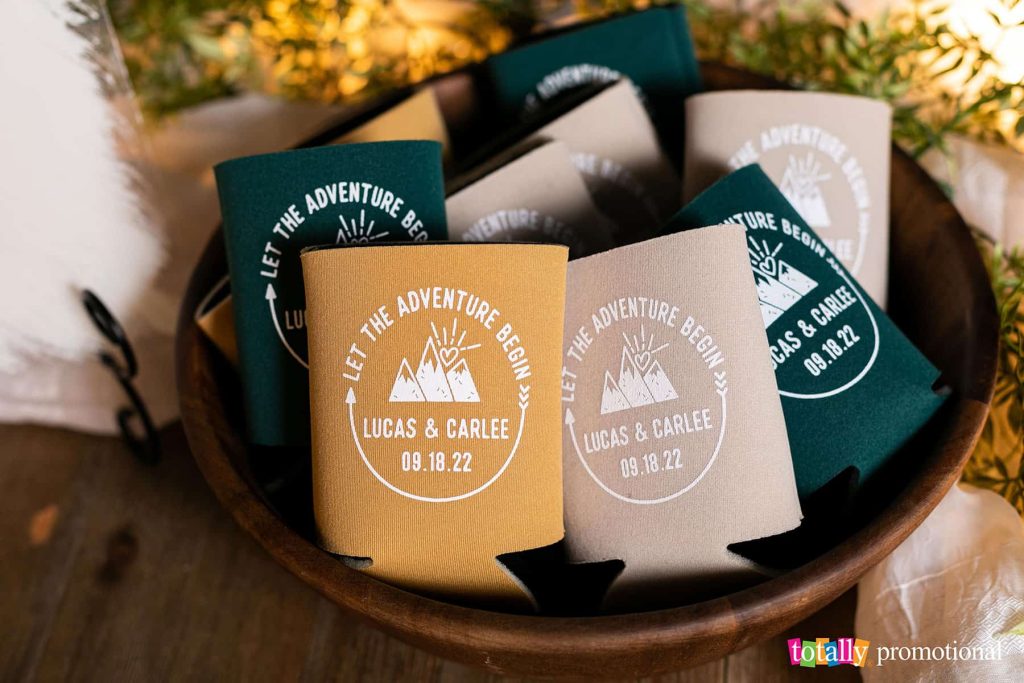
Whether you call your DIY wedding sign rustic, boho, farmhouse or woodsy, you want that same look for your wedding favors display. Keep the theme going by placing your foam or neoprene wedding can coolers in a wooden basket or crate.
It’s OK to use several different types and sizes of containers for your rustic wedding favors display. Galvanized metal buckets and tubs can be placed alongside wooden planters for added character.
Add your DIY acrylic wedding sign for a charming favors display that I’m sure will impress your guests!