Looking for a fun and easy way to get into the Halloween spirit? Make your own brightly glowing DIY Halloween T-shirts!
Ultraviolet (UV) neon glow paints make it simple to create eye-catching, colorful T-shirts that will stand out at any party. Your club, students or senior activities’ group will enjoy turning blank tees into glowing masterpieces.
The DIY Halloween T-shirt idea is perfect for adults and kids. It’s also an ideal way to get everyone in the mood for some spooky fun!
Let’s get started!
How to make DIY Halloween T-shirts

To create professional-looking DIY Halloween T-shirts, you will need:
- A blank T-shirt (100% cotton is recommended)
- Printable Halloween stencils
- X-ACTO (exacto) knife
- Freezer paper
- A piece of cardboard
- Iron
- Tape
- Neon Nights Fabric and Textile UV Glow Paint
- A paintbrush or sponge brush
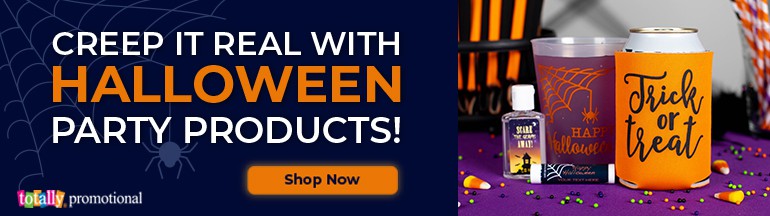
Step 1: Select a blank T-shirt
White T-shirts are a great option. They tend to make the neon paint colors pop the most. However, any color will do.
Not sure what sizes to order for your group? Use our T-Shirt Size Breakdown Calculator. You might also find it helpful to read our expert advice on ordering T-shirts for a group. We make ordering T-shirts a breeze!
Step 2: Choose a T-shirt design
If you have artistic talent and can draw freehand, knock yourself out! If you need help in the artwork department, follow the next steps.
Totally Promotional’s free printable pumpkin stencils are easy to use for Halloween T-shirt ideas. Just print your favorite stencil.
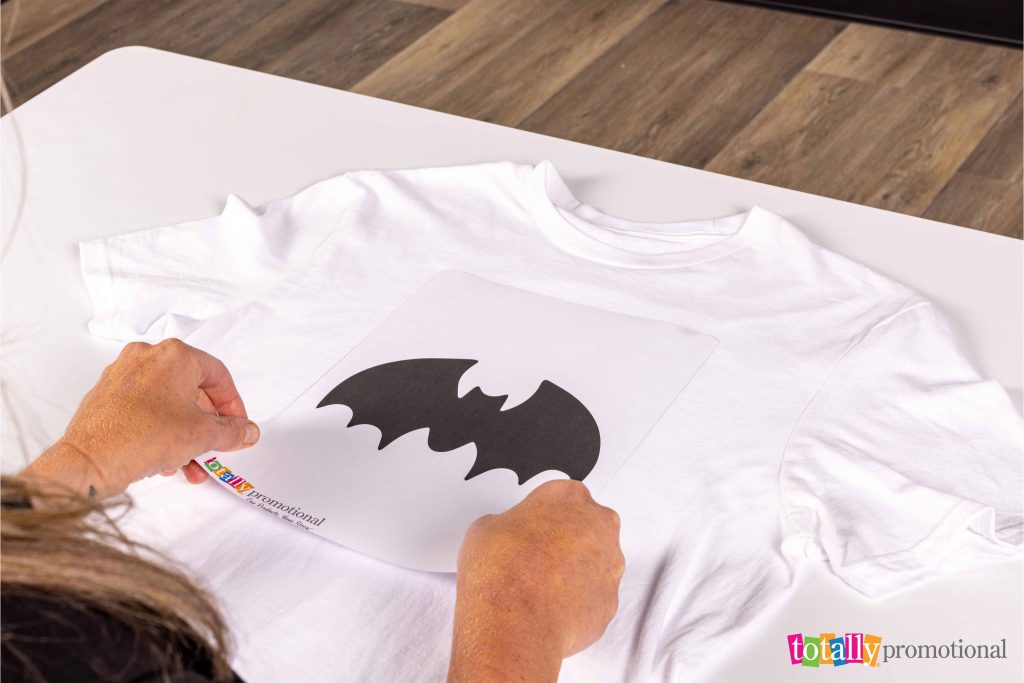
Step 3: Cut out the paper stencil
Cut around the stencil on a cutting mat or piece of cardboard using an X-ACTO or similar sharp knife.
Step 4: Trace the design on freezer paper
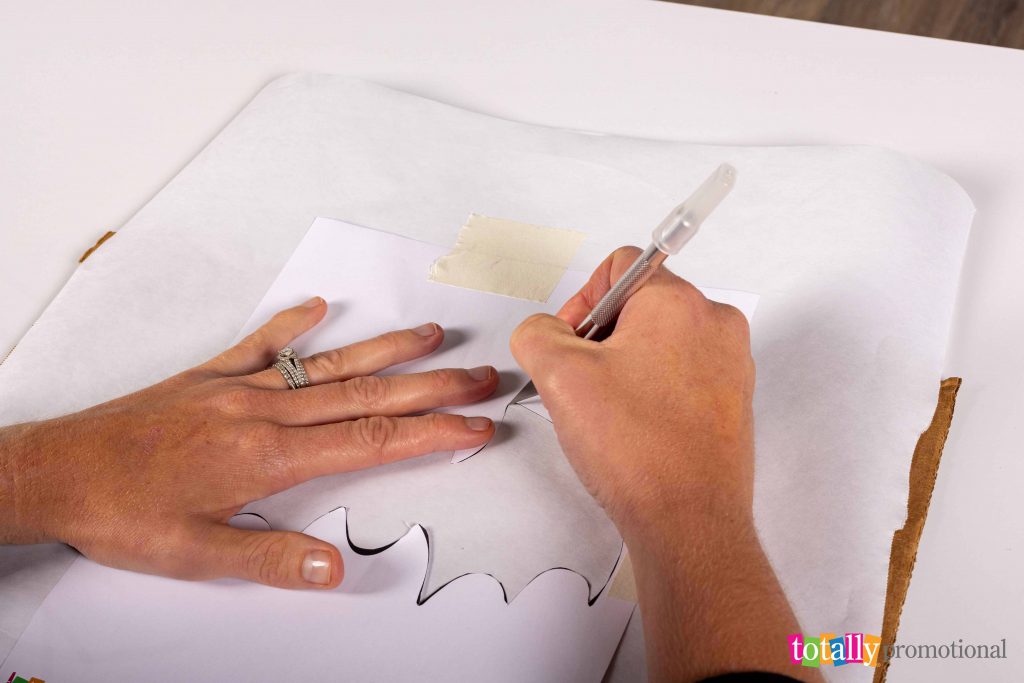
Place a piece of freezer paper, shiny side down, on your cutting mat. Tape your paper stencil onto the freezer paper and trace the design (don’t forget the inside of letters!). Carefully cut out your design.
Step 5: Use cardboard to avoid seeping
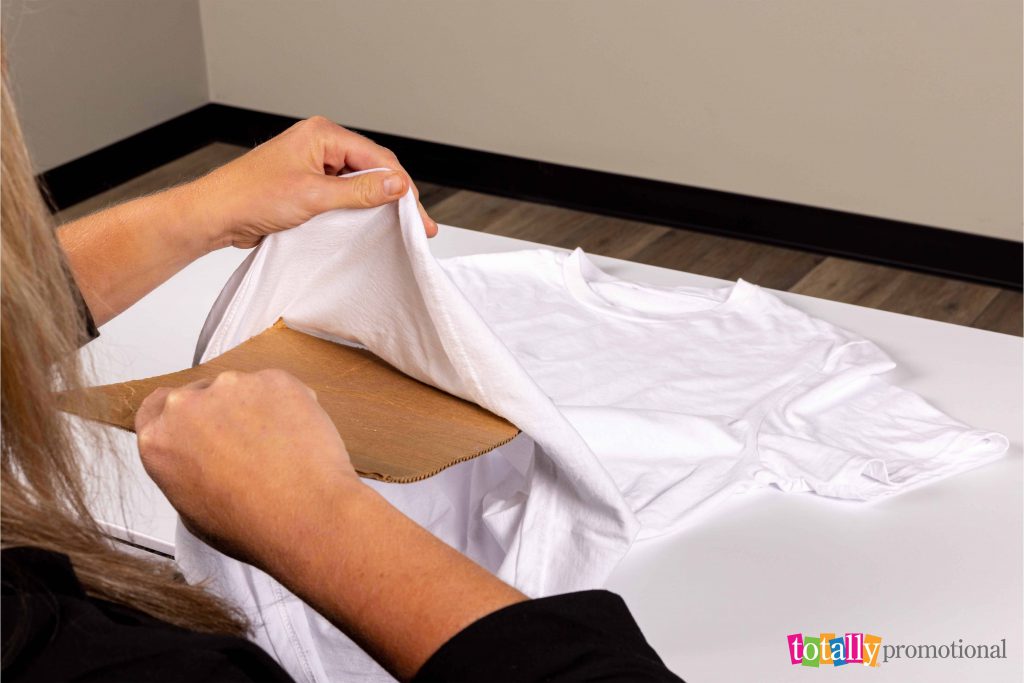
Place a piece of cardboard inside your shirt to ensure the paint doesn’t seep through.
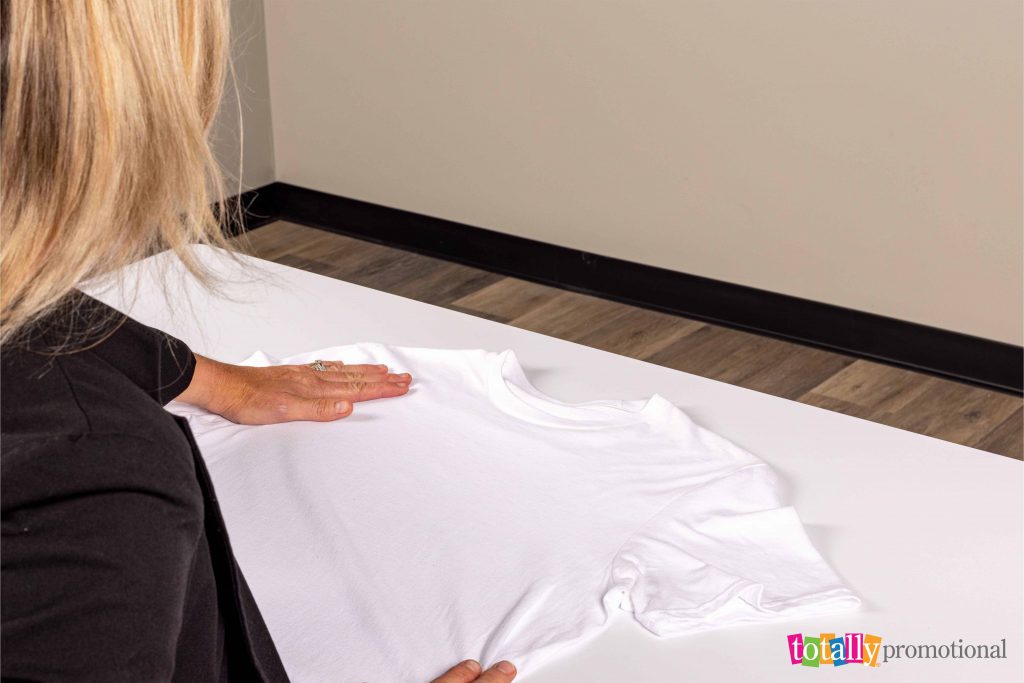
Step 6: Iron the stencil onto the DIY Halloween T-shirt
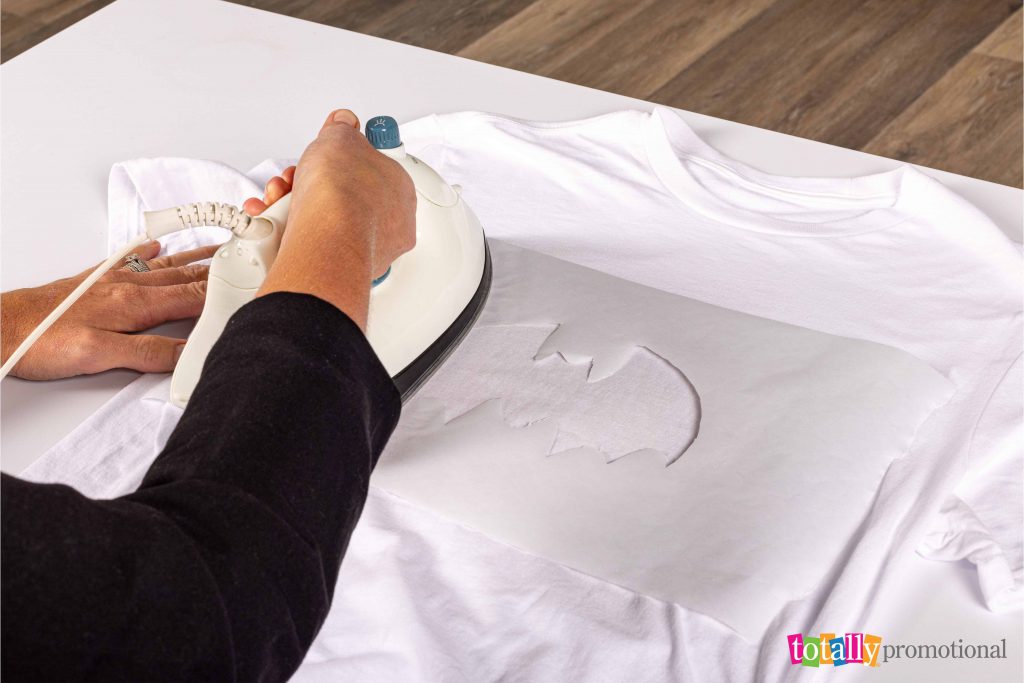
Position the freezer paper stencil where you want it on the T-shirt, then iron it. The shiny side of the freezer paper will act like a mild adhesive to hold the stencil in place on the shirt while you paint.
Step 7: Now you’re ready to paint!
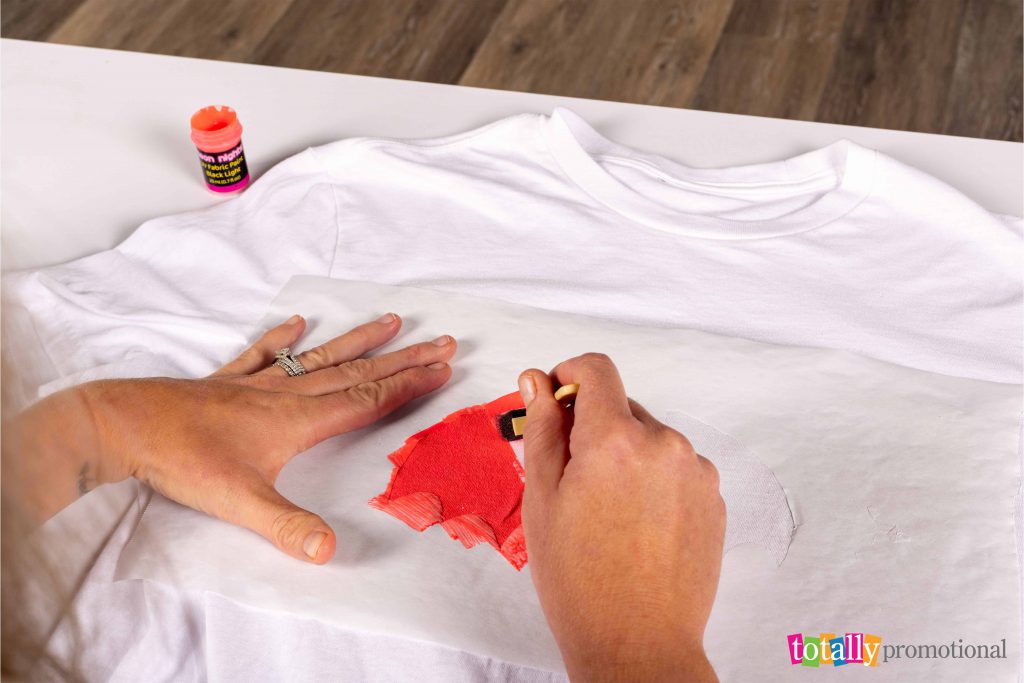
You can keep your DIY Halloween T-shirts simple by using just one color, or go spine-chilling wild with a multi-colored design.
Use your brush or sponge to apply the paint to the shirt. Applying two layers of the neon paints — about 20 minutes apart — will help you get a more noticeable glow on your shirt.
Step 5: Dry and reveal your masterpiece
Once you have finished painting your shirt, set it aside to dry for several hours or overnight. Carefully remove the stencil. Congratulations, you did it!
Watch your DIY Halloween T-shirts glow!
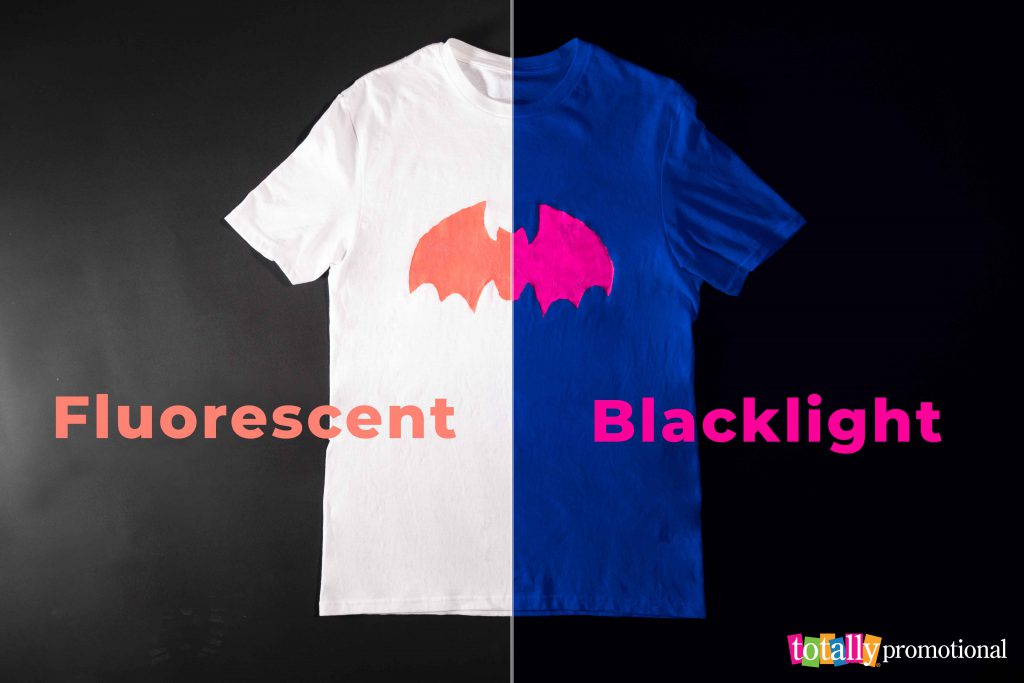
When your shirts are completely dry, turn off the lights and watch your design come alive! The fluorescent colors on your DIY Halloween shirts will pop in the daylight and look even more bright and vibrant in the dark. You’ll really love the spooky glow under UV or blacklights. The neon paints will create an eerie effect that is perfect for Halloween.
Whether you’re trick-or-treating, going to a costume party or just wearing Halloween T-shirts for fun, you’re sure to stand out from the crowd. And who knows, you might even start a new trend!
Don’t forget to check out our great selection of customized food items and snacks for all your little goblins!