A Sharpie® marker and a little inspiration can transform a blank coffee mug into a special gift or party favor. So, let’s create some DIY Sharpie® mugs!
I’ve always been a fan of Sharpie® pens but I never realized how many different styles they offered. And I had no idea how easy it is to create your own DIY Sharpie® mug, beer glass or cup!
Blank mugs or glasses decorated with your personal artwork make great gifts for wedding parties, neighbors, teachers or even grandkids who enjoy a warm cup of cocoa. Think Christmas presents!
How do you make Sharpie® mugs?
You’ll need:
- Sharpie® Oil-Based Paint Markers (choose from an assortment of colors including silver and gold metallic)
- Blank white mug
- Dish soap and rubbing alcohol
- Stencils, decals or customized stickers, pencil, printed design (optional)
Getting started:
- Use old newspaper or paper towel to protect your work surface from the permanent markers.
- Wash your mug with soap and water, dry it, and then wipe it with rubbing alcohol. Allow a few minutes for it to dry.
How to decorate a mug with Sharpies®
For the naturally artistic: Grab your Sharpie(s)® and freehand your design or text onto the mug.
For the rest of you: Use stencils, decals, vinyl stickers or small embellishments to create the design you want.

Try this image transfer technique to create custom mugs:
- Print your design on copy paper and cut around it.
- Use a pencil to scribble graphite across the backside of the paper, completely covering the flip-side of the design.
- Tape the paper to the mug with the graphite side against the surface.
- Trace your design with a pen to create an impression on the mug.
- Remove the paper.
- Use the impression to bring your design to life with Sharpie® Oil-Based Paint Markers.
TIP: Keep your design at least an inch from the brim of your mug to avoid contact with lips.
Bake your DIY Sharpie® mug
Allow your design to dry for about 24 hours. Place the mug in a cold oven and set the temperature to 450 degrees. Bake for 30 minutes. Turn the oven off and allow the mug to remain inside for an additional 15 minutes to prevent cracking.
Tip: Baking your DIY Sharpie® mug helps keep your design from fading over time. Although the heat will help seal the design onto your mug, I recommend handwashing instead of using a dishwasher for cleaning.
Let guests join in the fun!
DIY Sharpie® mugs and similar crafts are fun activities to roll out at parties. They prompt guests to mingle and serve as a unique party favor.
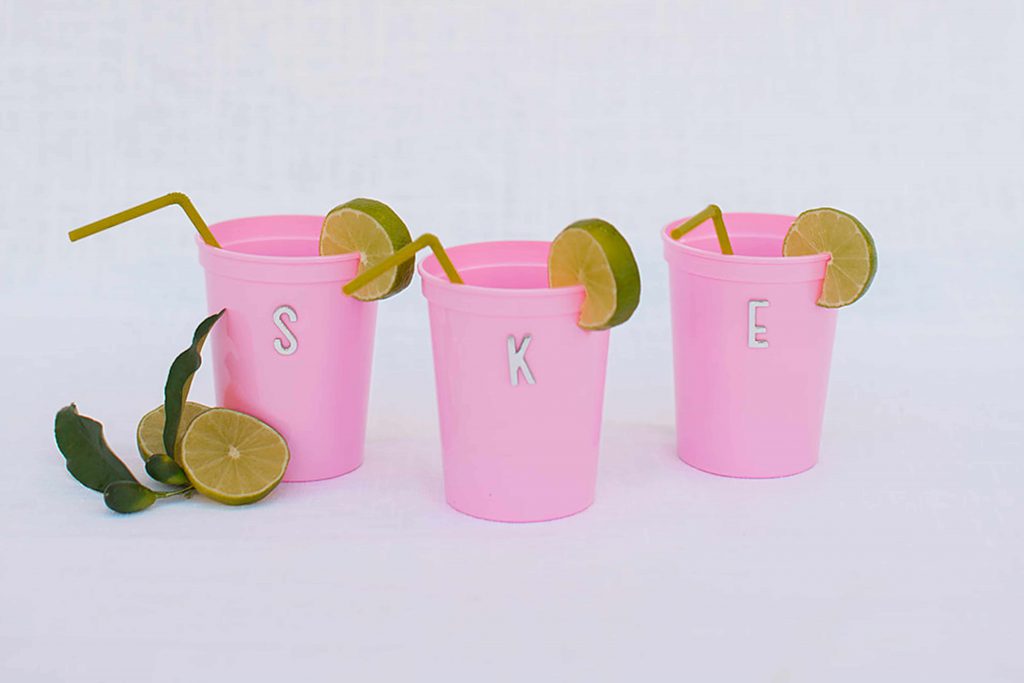
Melanie McKinley of Mayhar Design said her guests loved decorating blank cups at her daughter’s first birthday party.
“For Hannah’s birthday, I didn’t want to wash dishes, but I did want cute cups for both the children and adults,” McKinley said. “Instead of opting for disposable drinking cups, I bought these darling pink stadium cups that each guest could take home as a mini favor.”
She ordered bulk blank stadium cups from Totally Promotional and bought pastel fruit and metallic letter stickers for guests to use as decoration. Consider ordering customized stickers for your project.
“It was a fun little task and made for a really cute cup,” McKinely said. “Everyone loved it! It was a great way to welcome guests and give them something to do.”
Jumpstart your creative side
If you’ve been thinking about dabbling in crafts, the DIY Sharpie® mug is a great way to start.
Blank ceramic mugs can be purchased cheaply in bulk at Totally Promotional. I also found 10 Sharpie® Oil-Based Paint Markers in various colors for $24 at a discount store.
What are you waiting for? Shop blank mugs today!