- SAVE $50 ON YOUR ORDER | Use Code: SAVE50 See details
Promotional Product Printing - Imprint Methods
The art of customization has evolved over decades to produce high-quality imprints on promotional products of every size and shape. Totally Promotional and its associates use the latest, state-of-the-art printing processes to place unique logos, text and designs on all its products.
Dye Sublimination
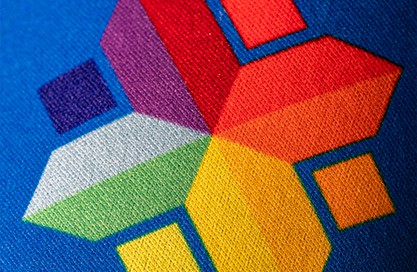
The dye-sublimation process begins by digitally printing artwork onto a coated paper substrate with a water-soluble ink. Next, the paper is placed onto the finished product surface where it is permanently sublimated or dyed onto the product using a combination of heat and pressure. By manipulating the ink concentration and the amount of heat and pressure, this imprint method results in the top choice for detailed designs, full-color artwork and photographs.
Digital Printing | UV Large Format
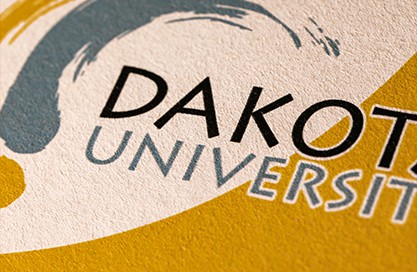
Our ultra violet (UV) digital-printing process uses a large-format, flatbed digital printer to apply artwork via a UV curable ink. The printhead passes over the printing surface where a large quantity of parts are placed waiting to be printed. The ink is then cured simultaneously as a UV lamp follows each printhead motion. UV digital printing methods are best when imprinting full color, detailed images on flat or nearly flat surfaces.
Digital Printing | Eco-Solvent Format
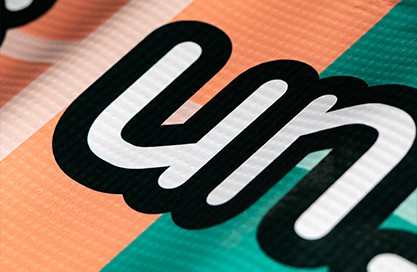
Our eco-solvent digital printing process uses a large-format printer that places a solvent-based ink directly onto the finished media. An Eco-Solvent printer allows us to print on a large variety of material types and gives us the capability of replicating photos for many of our banners, banner stands and other promotional items where a direct-to-surface print is needed to produce the best results.
Full-Color Digital Printing
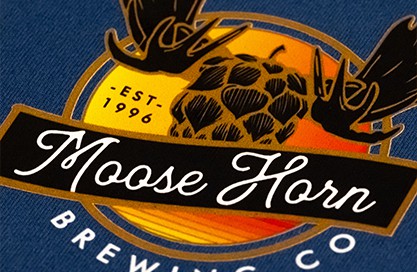
The full-color digital printing process is a new technique that is in high demand for all types of promotional products. In this process, images are rendered digitally using a high-quality printer and fabric-safe inks. It allows us to print multiple colors and highly detailed images directly onto a variety of materials. The process creates a durable imprint with amazing elasticity and feel.
Screen Printing
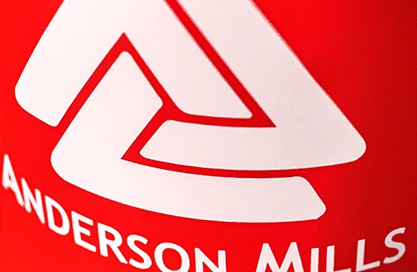
The screen-printing or silk-screen process begins with the creation of a custom screen or stencil for every order. The process may involve one or more screens depending on the amount of varying colors needed for each job. Once the screen is created, a specific ink designed to adhere to the finished product is pushed through the opening on the screen containing the custom art. After being printed, the finished product is run through a dryer for curing.
Pad Printing
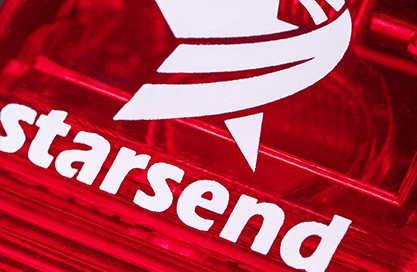
This process involves creating a custom “cliche” or plate for each order. The custom artwork is etched into the surface of the plate in order for ink to be deposited. Once the plate has been inked, a silicone pad or “stamp” picks this ink up and transfers the image to the finished product. Pad printing, also called tampography, works well on many different types of surfaces, shapes, sizes and textures.
Heat Transfer
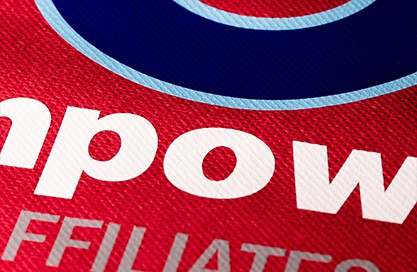
The heat-transfer decal process uses a heat press to thermally apply a decal onto the material. This process works well with polypropylene, polyesters and other materials.
Foil Stamping
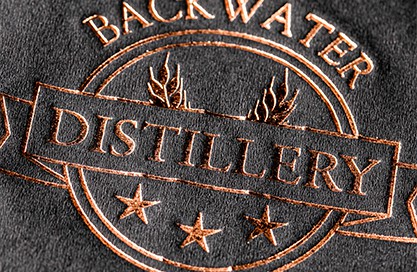
The foil-stamping process is the application of metallic or pigmented foil onto material by using a heated die. The heated die is compressed with the metallic foil and product to ensure proper transfer of the foil onto the finished part. Foil stamping adds an elegant look to wedding supplies and other promotional products.
Flexography
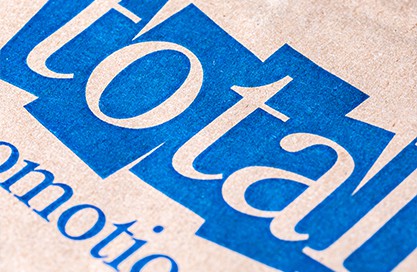
Flexographic printing, often called “flexo,” is a process that utilizes a flexible plate on a fast-rotating drum to transfer ink onto a product. This process uses a solvent based ink that cures onto the surface immediately to enable the fast production speeds. This process is commonly used on many paper, plastic and corrugated products.
Laser Etching/Engraving
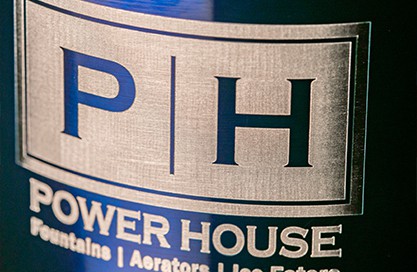
This process, often called laser engraving, uses a laser beam to engrave or etch a design onto promotional products. No ink is used. It is considered a long-lasting imprint method.
Embroidery
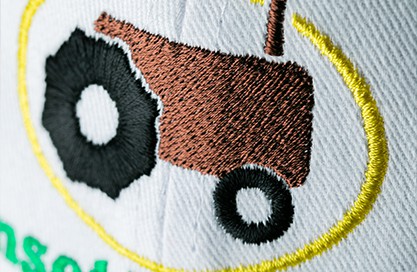
The embroidery process uses a computerized sewing machine to stitch an imprint or design onto material. Each color is stitched individually to create the overall imprint.
Debossing/Embossing
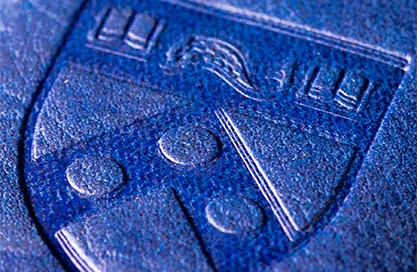
Debossing involves the use of a personalized metal plate that is cut into the design and pressed into the product or material. The end result is an indented logo or design on the product. Embossing, on the other hand, uses the same process to create a 3D raised design on products.

